網站首頁 編程語言 正文
1、什么是SpringBoot
? ? ? ? SpringBoot是一個用于創建獨立的、基于Spring的Java應用程序框架。它通過約定優于配置的方式來簡化Spring應用程序的開發過程,使開發者能夠更快速地搭建和部署應用程序。Spring Boot 提供了自動化配置,減少了手動配置的工作量,并集成了大量常用的第三方庫,從而簡化了開發者的工作。Spring Boot 應用程序可以打包為獨立的JAR包,并通過內嵌的Servlet容器(如Tomcat、Jetty)來運行,無需外部的Web服務器。(開箱即用)
總結來說,Spring Boot 是Spring框架的一個擴展,旨在簡化和加速Spring應用程序的開發、配置、部署過程。
? ? ? ? 優點:
-
簡化配置: Spring Boot 使用約定優于配置的理念,大大簡化了Spring應用程序的配置過程,減少了開發者的工作量。
-
快速啟動: Spring Boot 應用程序可以打包為獨立的JAR包,并且集成了嵌入式的Servlet容器,如Tomcat或Jetty,因此可以快速啟動和運行,無需外部的Web服務器。
-
自動化配置: Spring Boot 提供了大量的自動化配置選項,可以根據項目的依賴和環境自動配置Spring應用程序,使得開發者可以更專注于業務邏輯而不是配置細節。
-
集成大量開箱即用的組件: Spring Boot 預集成了大量常用的第三方庫和框架(如Spring Data、Spring Security等),開發者可以直接引入依賴并開始使用,提高了開發效率。
-
微服務支持: Spring Boot 很好地支持微服務架構,可以通過Spring Cloud等相關項目來輕松構建和管理微服務。
-
與Spring生態系統的無縫集成: Spring Boot 是Spring框架的一部分,與Spring的生態系統緊密集成,可以充分利用Spring框架的各種功能和擴展。
2、SpringBoot開發示例(解決JDK8不存在的問題)
? ? ? ? 2.1、SpringBoot工程創建
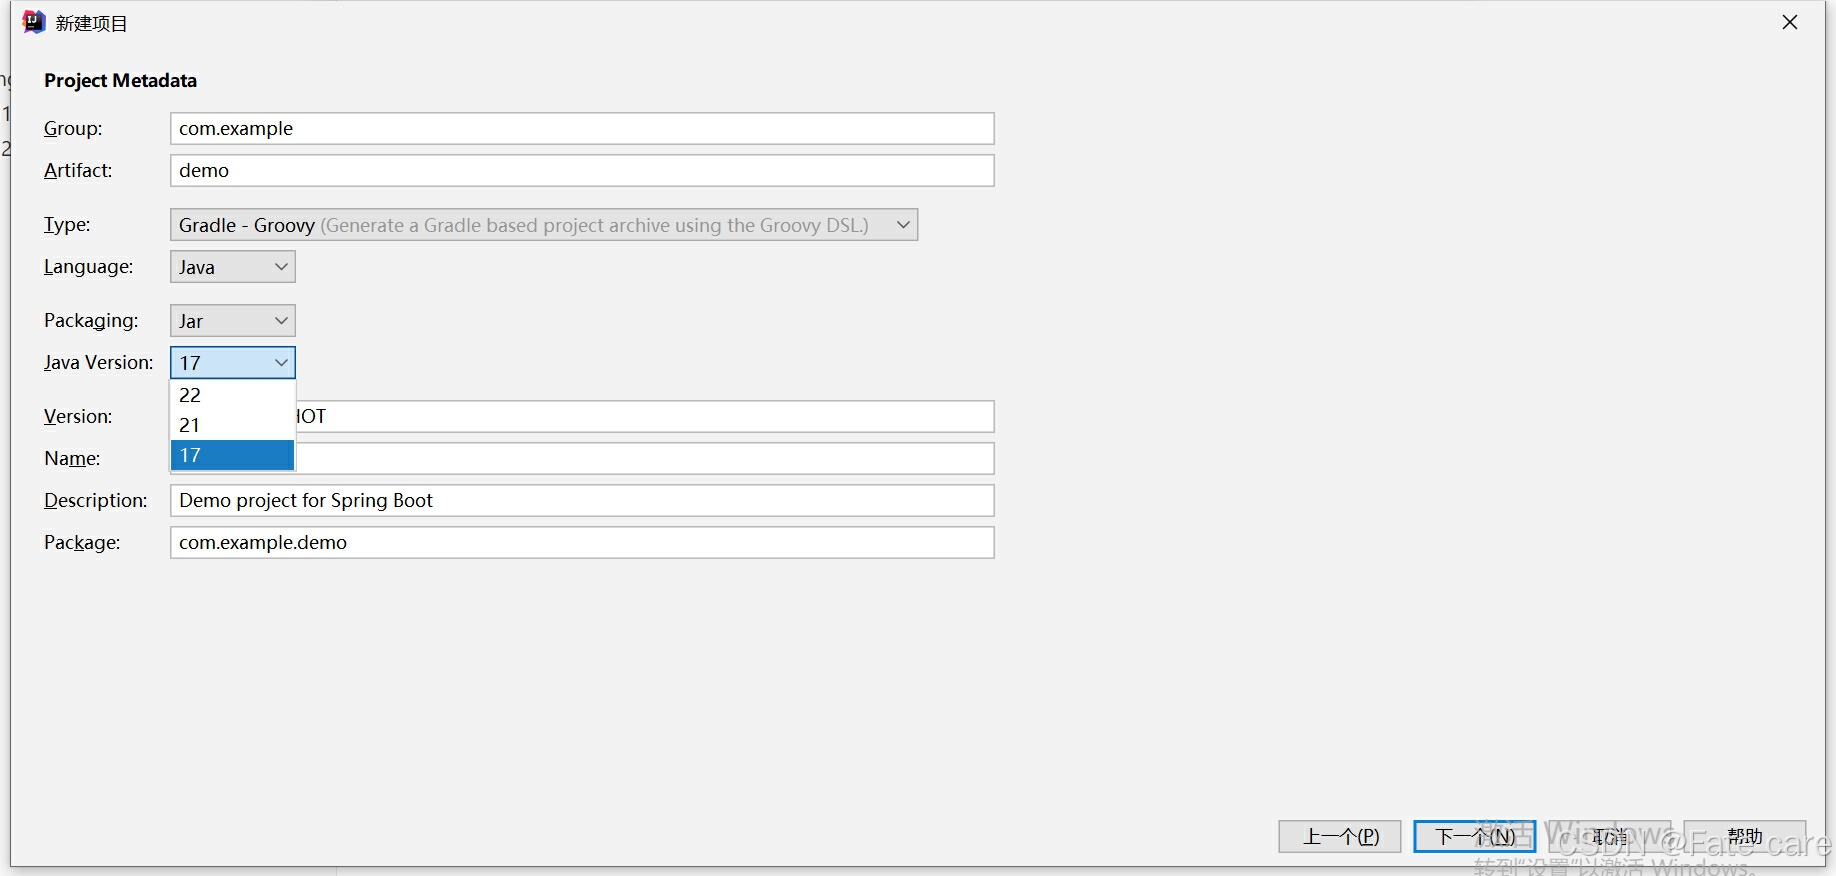
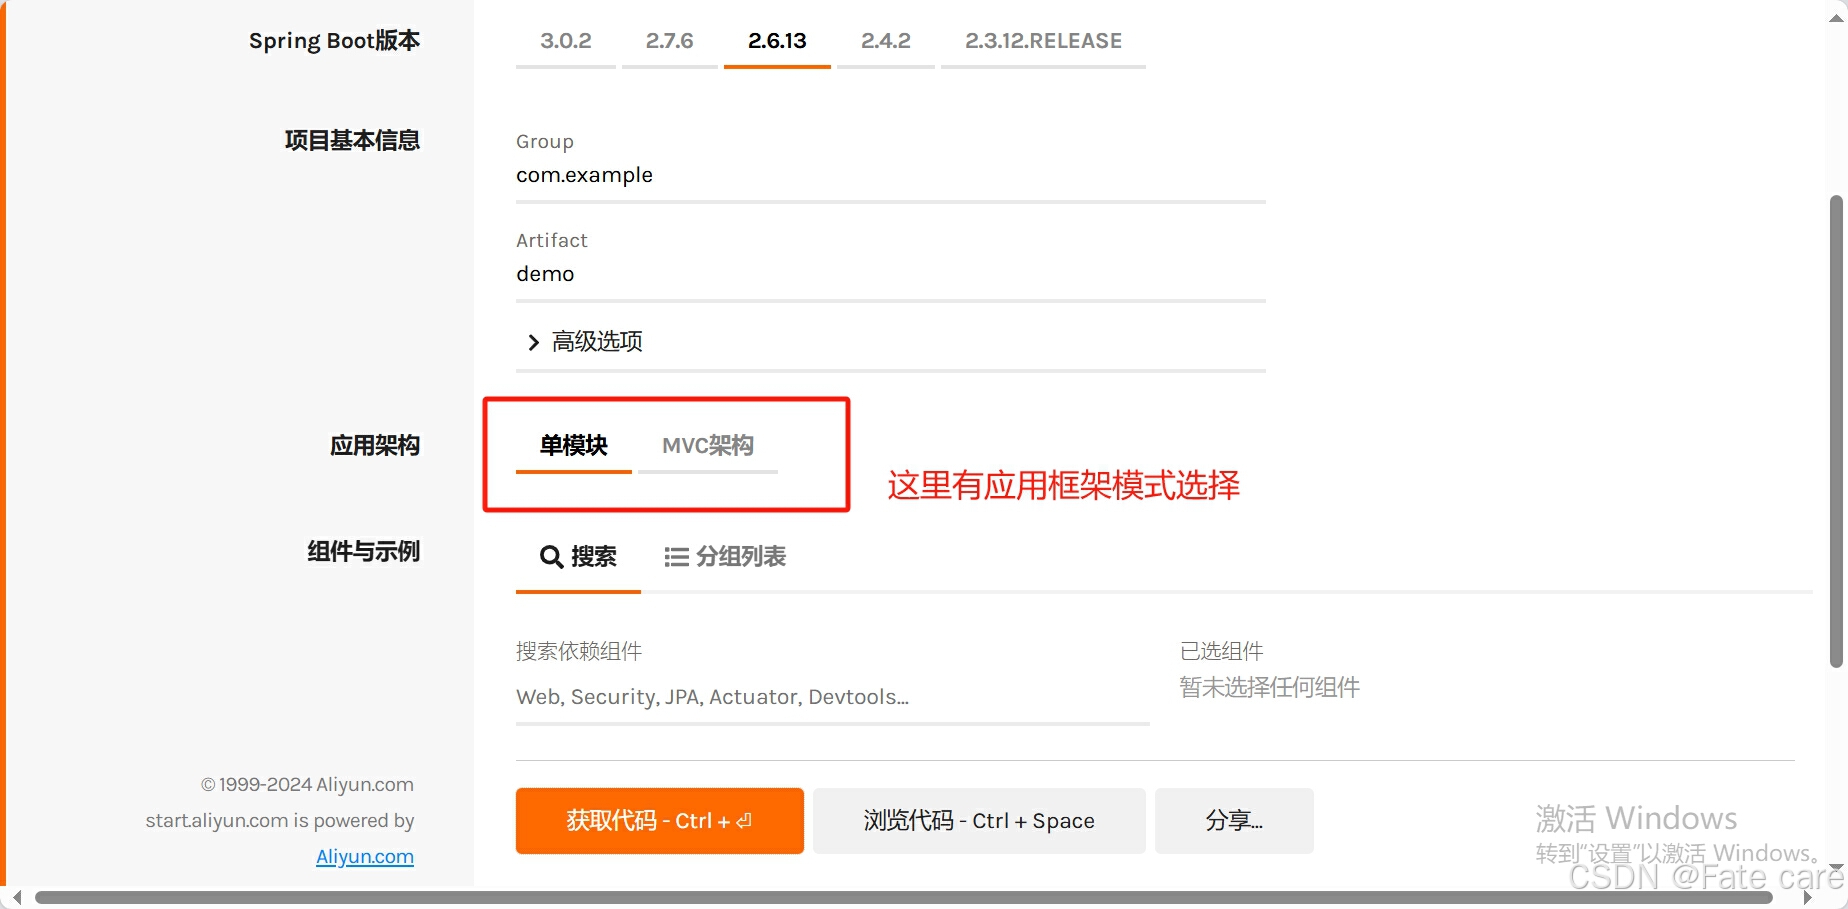
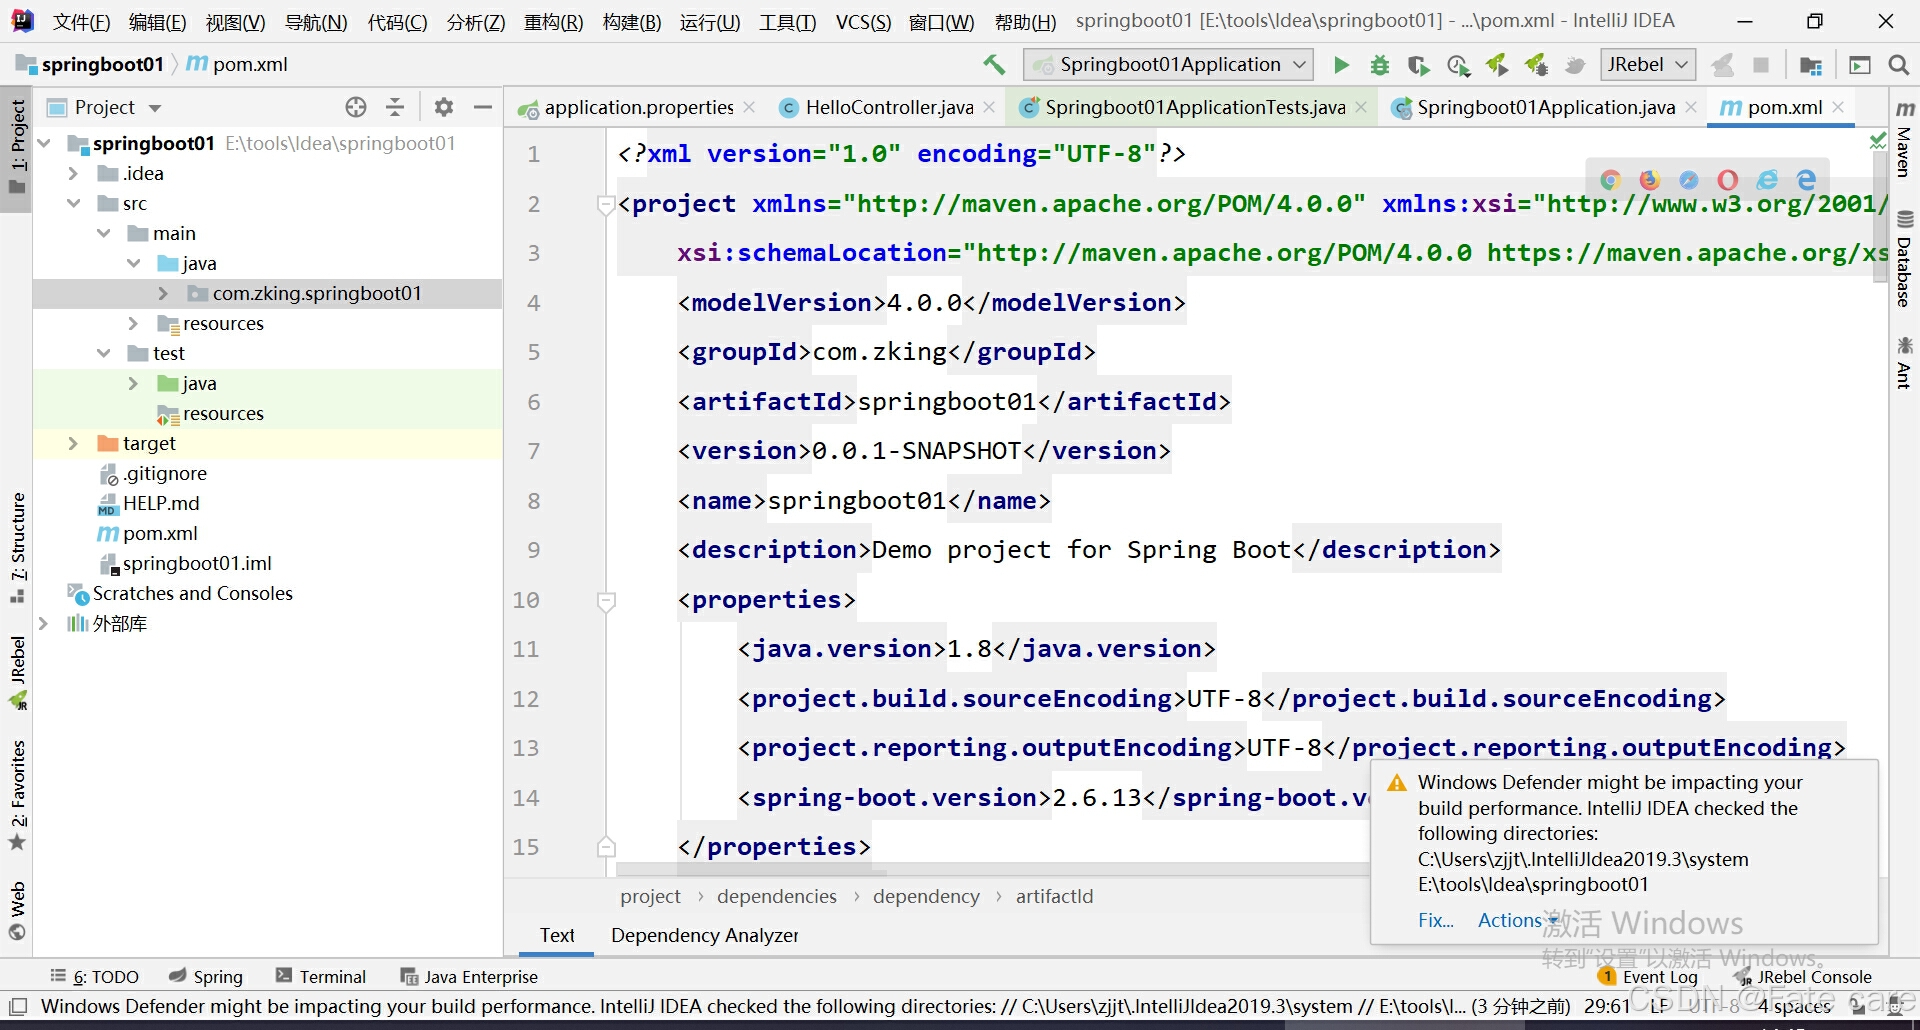
基于2019版IDEA創建SpringBoot項目工程(注:JDK8搭建SpringBoot項目的是可能存在如下問題)
? ? ? ? 1、Java8不存在問題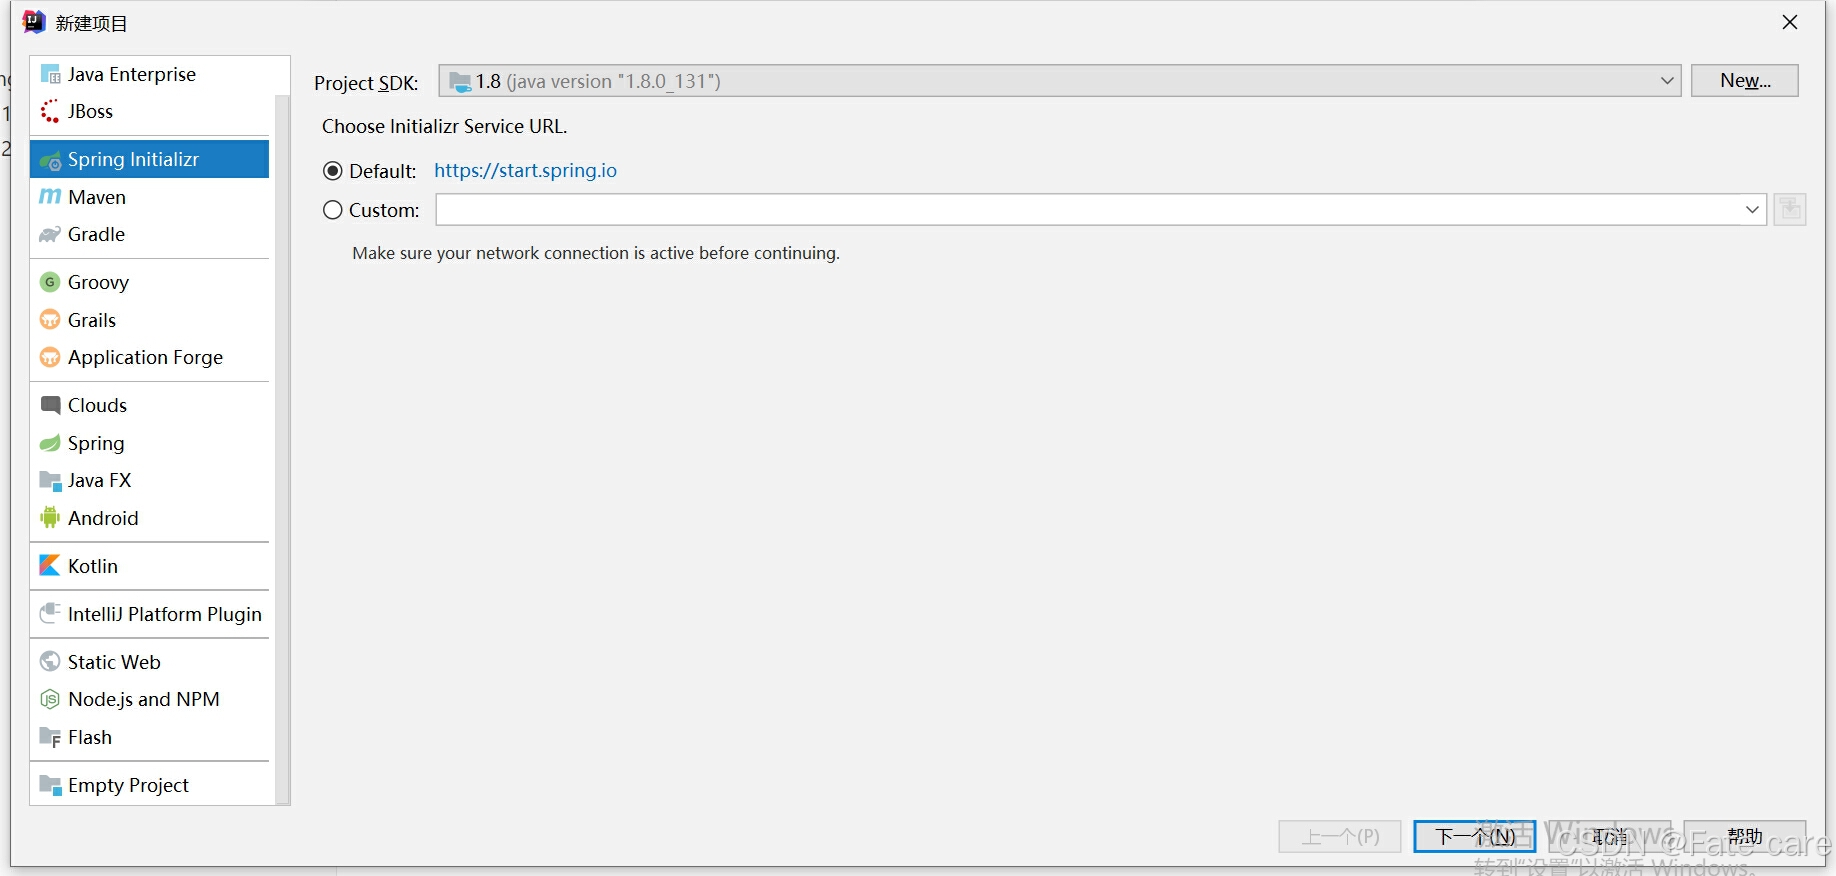
解決方案:
????????
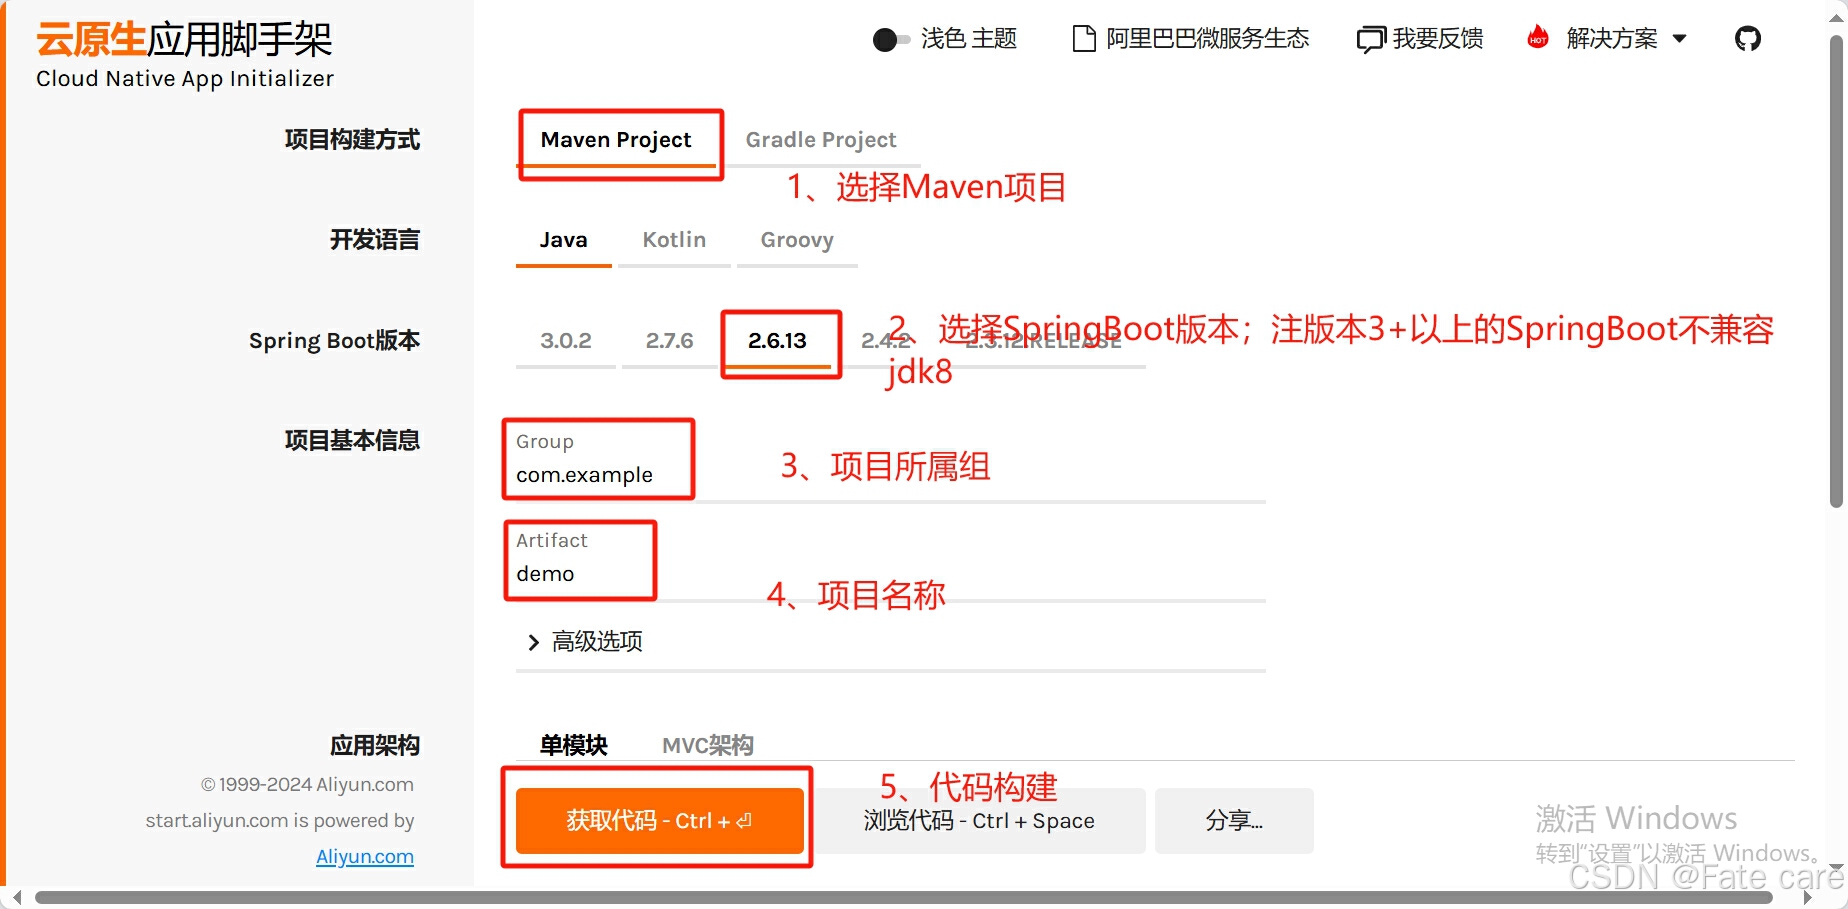
將下載好的壓縮包進行解壓即可,隨后用IDEA打開即可用
這樣項目就搭建好了
查看統一模塊管理,按住ctrl+鼠標左鍵點擊跳轉即可,進入文件查看內部文件管理
<dependencyManagement>
<dependencies>
<dependency>
<groupId>org.springframework.boot</groupId>
<artifactId>spring-boot-dependencies</artifactId>
<version>${spring-boot.version}</version>
<type>pom</type>
<scope>import</scope>
</dependency>
</dependencies>
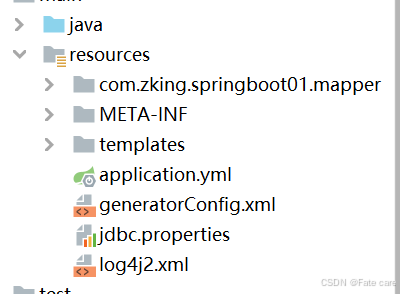
</dependencyManagement>????????2.2、創建SpringBoot配置文件
? ? ? ? application.yml或者.properties的后綴都可以,他們可以進行相互的轉換
文件所在目錄如下
????????????????????????
文件內容如下(基于.properties類型)
#配置服務器端口;默認8080
server.port=8088
#配置項目訪問根路徑;默認/
server.servlet.context-path=/SpringBoot
#其他相關配置
.........
啟動類查看
? ? ? ? 所在目錄
? ? ? ? ? ? ????????? ? ??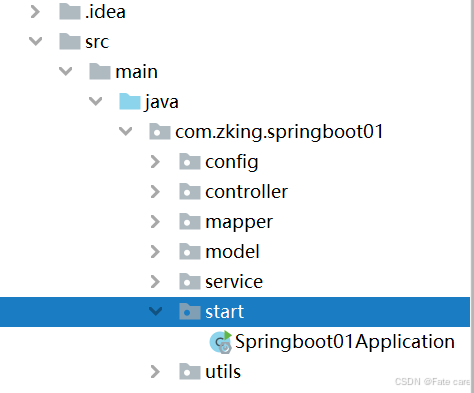
也可以直接創建于包的根路徑下則無需加注解@ComponentScan("掃描的包路徑")
代碼如下
????????
package com.zking.springboot01.start;

import org.mybatis.spring.annotation.MapperScan;
import org.springframework.boot.SpringApplication;
import org.springframework.boot.autoconfigure.SpringBootApplication;
import org.springframework.context.annotation.ComponentScan;

@SpringBootApplication
@ComponentScan("com.zking.springboot01")
@MapperScan({"com.zking.springboot01.mapper"})
public class Springboot01Application {

    public static void main(String[] args) {
        SpringApplication.run(Springboot01Application.class, args);
    }

}
2.3、工程案例演示
創建一個controller包,下面創建HelloController類
@RestController
public class HelloController {
?
 ? ?@GetMapping("/hello")
 ? ?public Object Hello(){
 ? ? ? ?Map<String,Object> map = new HashMap<>();
 ? ? ? ?map.put("code","200");
 ? ? ? ?map.put("msg","歡迎進入!");
 ? ? ? ?return map;
 ?  }
}
運行項目訪問對應路徑即可
3、SpringBoot常用注解
| 注解 | 注解說明 |
|---|---|
| @SpringBootApplication | 這是 Spring Boot 最最最核心的注解,用在 Spring Boot 主類上,標識這是一個 Spring Boot 應用,用來開啟 Spring Boot 的各項能力。其實這個注解就是 @SpringBootConfiguration、@EnableAutoConfiguration、@ComponentScan 這三個注解的組合,也可以用這三個注解來代替 @SpringBootApplication 注解 |
| @Configuration | 基于JavaConfig的配置形式,相當于xml配置文件中的bean配置,任何一個標注了@Bean的方法,其返回值將作為一個bean定義注冊到Spring的IoC容器,方法名將默認成該bean定義的id |
| @ComponentScan | 功能其實就是自動掃描并加載符合條件的組件(比如@Component和@Repository等)或者bean定義,最終將這些bean定義加載到IoC容器中。我們可以通過basePackages等屬性來細粒度的定制@ComponentScan自動掃描的范圍,如果不指定,則默認Spring框架實現會從聲明@ComponentScan所在類的package進行掃描。(注:所以SpringBoot的啟動類最好是放在root package下,因為默認不指定basePackages。) |
| @EnableAutoConfiguration | 借助@Import的支持,收集和注冊特定場景相關的bean定義。允許 Spring Boot 自動配置注解,開啟這個注解之后,Spring Boot 就能根據當前類路徑>下的包或者類來配置 Spring Bean |
| @SpringBootConfiguration | 這個注解就是 @Configuration 注解的變體,只是用來修飾是 Spring Boot 配置而已,或者可利于 Spring Boot 后續的擴展 |
| @Conditional | 這是 Spring 4.0 添加的新注解,用來標識一個 Spring Bean 或者 Configuration 配置文>件,當滿足指定的條件才開啟配置 |
| @ConditionalOnBean | 組合 @Conditional 注解,當容器中有指定的 Bean 才開啟配置 |
| @ConditionalOnMissingBean | 組合 @Conditional 注解,和 @ConditionalOnBean 注解相反,當容器中沒有指定的 Bean 才開啟配置 |
| @ConditionalOnClass | 組合 @Conditional 注解,當容器中有指定的 Class 才開啟配置 |
| @ConditionalOnMissingClass | 組合 @Conditional 注解,和 @ConditionalOnMissingClass 注解相反,當容器中沒有指定的 Class 才開啟配置 |
| @ConditionalOnWebApplication | 組合 @Conditional 注解,當前項目類型是 WEB 項目才開啟配置 |
| @ConditionalOnNotWebApplication | 組合 @Conditional 注解,和 @ConditionalOnWebApplication 注解相反,當前項目類型不是 WEB 項目才開啟配置 |
| @ConditionalOnProperty | 組合 @Conditional 注解,當指定的屬性有指定的值時才開啟配置 |
| @ConditionalOnExpression | 組合 @Conditional 注解,當 SpEL 表達式為 true 時才開啟配置 |
| @ConditionalOnJava | 組合 @Conditional 注解,當運行的 Java JVM 在指定的版本范圍時才開啟配置 |
| @ConditionalOnResource | 組合 @Conditional 注解,當類路徑下有指定的資源才開啟配置 |
| @ConditionalOnJndi | 組合 @Conditional 注解,當指定的 JNDI 存在時才開啟配置 |
| @ConditionalOnCloudPlatform | 組合 @Conditional 注解,當指定的云平臺激活時才開啟配置 |
| @ConditionalOnSingleCandidate | 組合 @Conditional 注解,當指定的 class 在容器中只有一個 Bean,或者同時有多個但為首選時才開啟配置 |
| @ConfigurationProperties | 用來加載額外的配置(如 .properties 文件),可用在 @Configuration 注解類,或者 @Bean 注解方法上面 |
| @EnableConfigurationProperties | 一般要配合 @ConfigurationProperties 注解使用,用來開啟對 @ConfigurationProperties 注解配置 Bean 的支持 |
| @AutoConfigureAfter | 用在自動配置類上面,表示該自動配置類需要在另外指定的自動配置類配置完之后。如 Mybatis 的自動配置類,需要在數據源自動配置類之后,@AutoConfigureAfter(DataSourceAutoConfiguration.class) public class MybatisAutoConfiguration |
| @AutoConfigureBefore | 這個和 @AutoConfigureAfter 注解使用相反,表示該自動配置類需要在另外指定的自動配置類配置之前 |
| @Import | 這是 Spring 3.0 添加的新注解,用來導入一個或者多個 @Configuration 注解修飾的類,這在 Spring Boot 里面應用很多 |
| @ImportResource | 這是 Spring 3.0 添加的新注解,用來導入一個或者多個 Spring 配置文件,這對 Spring Boot 兼容老項目非常有用,因為有些配置無法通過 Java Config 的形式來配置就只能用這個注解來導入 |
4、統一異常處理
????????注:異常類型:1、強制異常;2、非強制異常; 統一異常處理主要處理非強制異常
? ? ? ? 4.1、定義異常枚舉類
代碼如下:
public enum ErrorType {
    SUCCESS(200, "ok"),
    NO_AUTH(401, "未登錄"),
    NO_PERMISSION(403, "沒有權限"),
    OTHER_ERROR(500, "后臺異常"),
    NOT_FOUND_MAPPING(404, "請求資源不存在");

    private Integer errorCode;

    private String errorMsg;

    ErrorType(Integer code, String errorMsg) {
        this.errorCode = code;
        this.errorMsg = errorMsg;
    }

    public Integer getErrorCode() {
        return this.errorCode;
    }

    public String getErrorMsg() {
        return this.errorMsg;
    }

}
為什么要使用枚舉,何為類型檢查?
-
類型安全性:
-
枚舉類常量: 枚舉類常量是枚舉類型的一部分,因此它們具有嚴格的類型安全性。編譯器會確保你只能使用該枚舉類中定義的常量,這樣可以避免使用不相關的常量或值。
-
實現類或實體類常量: 如果使用實現類或實體類中的常量,通常是通過類的靜態常量或靜態 final 字段來實現的。這些常量不會有與枚舉常量相同的類型檢查,因為它們只是普通的類成員。編譯器不會強制確保只使用預定義的常量,因此可能會導致使用不正確的常量值的風險。
-
-
可讀性和維護性:
-
枚舉類常量: 枚舉類常量明確地列在枚舉類的定義中,使得代碼更具可讀性。添加或修改枚舉常量時,IDE和編譯器會提供支持,因此更易于維護和更新。
-
實現類或實體類常量: 這些常量可能會散布在類的不同部分或者在整個代碼庫中,可讀性和維護性較差。如果有多個類定義了相似的常量,則可能會導致命名沖突或混淆。
-
-
編程實踐:
-
通常情況下,枚舉類常量更適合表示一組相關的常量選項,例如顏色、狀態、選項等。這樣的使用方式可以提高代碼的結構化和清晰度。
-
實現類或實體類常量通常用于表示不可變的全局值,如數學常數或應用程序的配置參數。
-
差異:
????????實現類或實體類中定義的常量存在被修改的風險。因為這些常量通常是通過靜態 final 字段或者常量定義的方式實現的,它們雖然在程序中被視為常量,
但實際上可以被重新賦值或修改。這種修改可能是有意為之,但也可能是意外的,尤其是在大型項目中,可能有多個開發者操作同一個類或實體類的常量。
????????枚舉類中定義的常量是真正意義上的不可修改的常量。枚舉常量在定義時就被確定,并且無法在運行時被修改。這種設計保證了枚舉常量的穩定性和不可變性,
使得它們更適合表達固定不變的選項集合,如星期幾、月份、狀態等。
????????因此,為了避免常量被意外修改或破壞,特別是在涉及到多人開發或大型項目中,推薦使用枚舉類來定義常量。這樣可以確保常量的穩定性和一致性,減少程序中出現的潛在錯誤。
4.2、定義統一消息返回格式
????????
public class ReturnData extends HashMap<String,Object> {

    public ReturnData(int code, String msg) {
        this.put("code",code);
        this.put("msg", msg);
    }

    public ReturnData(int code,String msg, Object data) {
        this.put("code",code);
        this.put("msg",msg);
        this.put("data",data);
    }

    public ReturnData() {
        this.put("code", 1);
        this.put("msg", "success");
    }

    public ReturnData(Object data) {
        this.put("code", 1);
        this.put("msg", "success");
        this.put("data",data);
    }

    public ReturnData(ErrorType error) {
        this.put("code", error.getErrorCode().intValue());
        this.put("msg", error.getErrorMsg().toString());
    }
}
4.3、自定義異常
public class MyExcepton extends RuntimeException {

    private ErrorType error;

    public MyExcepton() {
        super();
    }

    public MyExcepton(String msg) {
        super(msg);
    }

    public MyExcepton (ErrorType error) {
        super(error.getErrorMsg().toString());
        this.error = error;
    }

    public ErrorType getError() {
        return error;
    }

}
4.4、統一異常處理配置類
@RestControllerAdvice
public class GlobalExceptionHandler {

    @ExceptionHandler(Exception.class)
    public ReturnData exceptionHandler(Exception e) {
        System.out.println(e.getCause());
        return new ReturnData(500, "服務異常");
    }

    @ExceptionHandler(MyExcepton.class)
    public ReturnData myExceptionHandler(MyExcepton e) {
        return new ReturnData(e.getError());
    }

    @ExceptionHandler(NoHandlerFoundException.class)
    public ResponseEntity noHanderFound(NoHandlerFoundException e) {

        ReturnData error =  new ReturnData(ErrorType.NOT_FOUND_MAPPING.getErrorCode().intValue(),
                ErrorType.NOT_FOUND_MAPPING.getErrorMsg());

        return new ResponseEntity<>(error, HttpStatus.NOT_FOUND);
    }

}
4.5、靜態資源配置
@Configuration
public class ResourceConfig implements WebMvcConfigurer {
    @Override
    public void addResourceHandlers(ResourceHandlerRegistry registry) {
        //可以訪問localhost:8088/static/images/image.jpg
        registry.addResourceHandler("/static/**").addResourceLocations("classpath:/static/");
    }
}
4.6、配置application.properties文件
#開啟異常捕獲
spring.mvc.throw-exception-if-no-handler-found=true
spring.web.resources.add-mappings=false
5、SpringBoot整合其他項目
? ? ? ? 5.1、整合JDBC
在pom.xml中添加如下坐標:
  <!-- 數據庫管理池 -->
        <dependency>
            <groupId>org.springframework.boot</groupId>
            <artifactId>spring-boot-starter-jdbc</artifactId>
        </dependency>
        <!-- mysql連接對象 -->
        <dependency>
            <groupId>mysql</groupId>
            <artifactId>mysql-connector-java</artifactId>
            <version>5.1.44</version>
        </dependency>
在application.yml或.properties文件中配置
#在application.properties文件中加入如下配置
#數據庫連接對象
spring.datasource.driver-class-name=com.mysql.jdbc.Driver
#數據庫
spring.datasource.url=jdbc:mysql://localhost:3306/vue?useUnicode=true&characterEncoding=utf8
#數據庫賬號
spring.datasource.username=root
#數據庫密碼
spring.datasource.password=1234
#數據庫使用類型
spring.datasource.type=com.zaxxer.hikari.HikariDataSource
5.2、配置Druid數據庫連接池
????????
Druid是Java語言中最好的數據庫連接池。Druid能夠提供強大的監控和擴展功能。
在pom.xml中加入如下依賴坐標
<dependency>
 ? ?<groupId>com.alibaba</groupId>
 ? ?<artifactId>druid-spring-boot-starter</artifactId>
 ? ?<version>1.2.15</version>
</dependency>
隨后在application.propreties文件中添加如下配置(.yml文件可以進行轉換)
server.port=8088
server.servlet.context-path=/SpringBoot
#數據庫配置
spring.datasource.driver-class-name=com.mysql.jdbc.Driver
spring.datasource.password=1234
#連接類型需要換成Druid連接類型
spring.datasource.type=com.alibaba.druid.pool.DruidDataSource
spring.datasource.url=jdbc:mysql://localhost:3306/vue?useUnicode=true&characterEncoding=utf8&useSSL=false
spring.datasource.username=root
#數據庫連接池Druid配置
# 配置監控統計攔截的filters,去掉后監控界面sql無法統計,'wall'用于防火墻
spring.datasource.druid.filter.stat.merge-sql=true
spring.datasource.druid.filter.stat.slow-sql-millis=5000、、、
?
spring.datasource.druid.initial-size=5
#最大連接數
spring.datasource.druid.max-active=20
spring.datasource.druid.max-pool-prepared-statement-per-connection-size=20
#連接超時時間
spring.datasource.druid.max-wait=60000
spring.datasource.druid.min-evictable-idle-time-millis=30000
#最小連接數
spring.datasource.druid.min-idle=5
 # 是否緩存preparedStatement,也就是PSCache  官方建議MySQL下建議關閉 ? 個人建議如果想用SQL防火墻 建議打開
spring.datasource.druid.pool-prepared-statements=true
spring.datasource.druid.stat-view-servlet.allow=127.0.0.1
spring.datasource.druid.stat-view-servlet.enabled=true
spring.datasource.druid.stat-view-servlet.login-password=admin
spring.datasource.druid.stat-view-servlet.login-username=admin
spring.datasource.druid.stat-view-servlet.reset-enable=true
spring.datasource.druid.stat-view-servlet.url-pattern=/druid/*
spring.datasource.druid.test-on-borrow=true
spring.datasource.druid.test-on-return=false
spring.datasource.druid.test-while-idle=true
spring.datasource.druid.time-between-eviction-runs-millis=60000
spring.datasource.druid.validation-query=SELECT 1 FROM DUAL
spring.datasource.druid.web-stat-filter.enabled=true
spring.datasource.druid.web-stat-filter.exclusions=*.js,*.gif,*.jpg,*.png,*.css,*.ico,/druid/*
spring.datasource.druid.web-stat-filter.session-stat-enable=true
spring.datasource.druid.web-stat-filter.session-stat-max-count=100
spring.datasource.druid.web-stat-filter.url-pattern=/*
5.3、整合Mybatis
????????
在pom.xml文件中添加如下代碼
<dependency>
 ? <groupId>org.mybatis.spring.boot</groupId>
 ? <artifactId>mybatis-spring-boot-starter</artifactId>
 ? <version>1.3.2</version>
</dependency>
MyBatis-Spring-Boot-Starter依賴將會提供如下:
-
自動檢測現有的DataSource。
-
將創建并注冊SqlSessionFactory的實例,該實例使用SqlSessionFactoryBean將該DataSource作為輸入參數進行傳遞。
-
將創建并注冊從SqlSessionFactory中獲取的SqlSessionTemplate的實例。
-
自動掃描您的mappers,將它們鏈接到SqlSessionTemplate并將其注冊到Spring上下文,以便將它們注入到您的bean中。
就是說,使用了該Starter之后,只需要定義一個DataSource即可(application.properties或application.yml中可配置),它會自動創建。
請修改application.yml或application.properties文件,添加以下配置:
#mybatis配置
mybatis:
  #配置SQL映射文件路徑
  mapper-locations: classpath:mapper/*.xml
  #配置別名
  type-aliases-package: com.zking.項目名.model
在啟動類上添加注解@MapperScan
@SpringBootApplication
@ComponentScan("com.zking.springboot01")
@MapperScan({"com.zking.springboot01.mapper"})
public class Springboot01Application {
?
 ? ?public static void main(String[] args) {
 ? ? ? ?SpringApplication.run(Springboot01Application.class, args);
 ?  }
?
}
在pom.xml中添加插件
  <plugin>
 ? ? ? ? ? ? ? ?<groupId>org.mybatis.generator</groupId>
 ? ? ? ? ? ? ? ?<artifactId>mybatis-generator-maven-plugin</artifactId>
 ? ? ? ? ? ? ? ?<version>1.3.2</version>
 ? ? ? ? ? ? ? ?<dependencies>
 ? ? ? ? ? ? ? ? ? ?<!--使用Mybatis-generator插件不能使用太高版本的mysql驅動 -->
 ? ? ? ? ? ? ? ? ? ?<dependency>
 ? ? ? ? ? ? ? ? ? ? ? ?<groupId>mysql</groupId>
 ? ? ? ? ? ? ? ? ? ? ? ?<artifactId>mysql-connector-java</artifactId>
 ? ? ? ? ? ? ? ? ? ? ? ?<version>5.1.44</version>
 ? ? ? ? ? ? ? ? ? ?</dependency>
 ? ? ? ? ? ? ? ?</dependencies>
 ? ? ? ? ? ? ? ?<configuration>
 ? ? ? ? ? ? ? ? ? ?<overwrite>true</overwrite>
 ? ? ? ? ? ? ? ?</configuration>
 ? ? ? ? ? ?</plugin>
內容如下:
創建數據庫相關連接的配置文件
jdbc.driver=com.mysql.jdbc.Driver
jdbc.url=jdbc:mysql://localhost:3306/zy?useUnicode=true&characterEncoding=UTF-8&useSSL=false
jdbc.username=root
jdbc.password=1234
jdbc.initialSize=10
jdbc.maxTotal=100
jdbc.maxIdle=50
jdbc.minIdle=10
jdbc.maxWaitMillis=-1
在resource目錄下創建文件generatorConfig.xml
<?xml version="1.0" encoding="UTF-8" ?>
<!DOCTYPE generatorConfiguration PUBLIC "-//mybatis.org//DTD MyBatis Generator Configuration 1.0//EN"
 ? ? ? ?"http://mybatis.org/dtd/mybatis-generator-config_1_0.dtd" >
<generatorConfiguration>
 ? ?<!-- 引入配置文件 -->
 ? ?<properties resource="jdbc.properties"/>
?
 ? ?<!--指定數據庫jdbc驅動jar包的位置-->
 ? ?<classPathEntry location="E:\tools\repository\mysql\mysql-connector-java\5.1.44\mysql-connector-java-5.1.44.jar"/>
?
 ? ?<!-- 一個數據庫一個context -->
 ? ?<context id="infoGuardian">
 ? ? ? ?<!-- 注釋 -->
 ? ? ? ?<commentGenerator>
 ? ? ? ? ? ?<property name="suppressAllComments" value="true"/><!-- 是否取消注釋 -->
 ? ? ? ? ? ?<property name="suppressDate" value="true"/> <!-- 是否生成注釋代時間戳 -->
 ? ? ? ?</commentGenerator>
?
 ? ? ? ?<!-- jdbc連接 -->
 ? ? ? ?<jdbcConnection driverClass="${jdbc.driver}"
 ? ? ? ? ? ? ? ? ? ? ? ?connectionURL="${jdbc.url}" userId="${jdbc.username}" password="${jdbc.password}"/>
?
 ? ? ? ?<!-- 類型轉換 -->
 ? ? ? ?<javaTypeResolver>
 ? ? ? ? ? ?<!-- 是否使用bigDecimal, false可自動轉化以下類型(Long, Integer, Short, etc.) -->
 ? ? ? ? ? ?<property name="forceBigDecimals" value="false"/>
 ? ? ? ?</javaTypeResolver>
?
 ? ? ? ?<!-- 01 指定javaBean生成的位置 -->
 ? ? ? ?<!-- targetPackage:指定生成的model生成所在的包名 -->
 ? ? ? ?<!-- targetProject:指定在該項目下所在的路徑  -->
 ? ? ? ?<javaModelGenerator targetPackage="com.zking.springboot01.model"
 ? ? ? ? ? ? ? ? ? ? ? ? ? ?targetProject="src/main/java">
 ? ? ? ? ? ?<!-- 是否允許子包,即targetPackage.schemaName.tableName -->
 ? ? ? ? ? ?<property name="enableSubPackages" value="false"/>
 ? ? ? ? ? ?<!-- 是否對model添加構造函數 -->
 ? ? ? ? ? ?<property name="constructorBased" value="true"/>
 ? ? ? ? ? ?<!-- 是否針對string類型的字段在set的時候進行trim調用 -->
 ? ? ? ? ? ?<property name="trimStrings" value="false"/>
 ? ? ? ? ? ?<!-- 建立的Model對象是否 不可改變  即生成的Model對象不會有 setter方法,只有構造方法 -->
 ? ? ? ? ? ?<property name="immutable" value="false"/>
 ? ? ? ?</javaModelGenerator>
?
 ? ? ? ?<!-- 02 指定sql映射文件生成的位置 -->
 ? ? ? ?<sqlMapGenerator targetPackage="com.zking.springboot01.mapper"
 ? ? ? ? ? ? ? ? ? ? ? ? targetProject="src/main/resources">
 ? ? ? ? ? ?<!-- 是否允許子包,即targetPackage.schemaName.tableName -->
 ? ? ? ? ? ?<property name="enableSubPackages" value="false"/>
 ? ? ? ?</sqlMapGenerator>
?
 ? ? ? ?<!-- 03 生成XxxMapper接口 -->
 ? ? ? ?<!-- type="ANNOTATEDMAPPER",生成Java Model 和基于注解的Mapper對象 -->
 ? ? ? ?<!-- type="MIXEDMAPPER",生成基于注解的Java Model 和相應的Mapper對象 -->
 ? ? ? ?<!-- type="XMLMAPPER",生成SQLMap XML文件和獨立的Mapper接口 -->
 ? ? ? ?<javaClientGenerator targetPackage="com.zking.springboot01.mapper"
 ? ? ? ? ? ? ? ? ? ? ? ? ? ? targetProject="src/main/java" type="XMLMAPPER">
 ? ? ? ? ? ?<!-- 是否在當前路徑下新加一層schema,false路徑com.oop.eksp.user.model, true:com.oop.eksp.user.model.[schemaName] -->
 ? ? ? ? ? ?<property name="enableSubPackages" value="false"/>
 ? ? ? ?</javaClientGenerator>
?
 ? ? ? ?<!-- 配置表信息 -->
 ? ? ? ?<!-- schema即為數據庫名 -->
 ? ? ? ?<!-- tableName為對應的數據庫表 -->
 ? ? ? ?<!-- domainObjectName是要生成的實體類 -->
 ? ? ? ?<!-- enable*ByExample是否生成 example類 -->
 ? ? ? ?<table schema="" tableName="t_book" domainObjectName="Book"
 ? ? ? ? ? ? ? enableCountByExample="false" enableDeleteByExample="false"
 ? ? ? ? ? ? ? enableSelectByExample="false" enableUpdateByExample="false">
 ? ? ? ? ? ?<!-- 忽略列,不生成bean 字段 -->
 ? ? ? ? ? ?<!-- <ignoreColumn column="FRED" /> -->
 ? ? ? ? ? ?<!-- 指定列的java數據類型 -->
 ? ? ? ? ? ?<!-- <columnOverride column="LONG_VARCHAR_FIELD" jdbcType="VARCHAR" /> -->
 ? ? ? ?</table>
 ? ?</context>
</generatorConfiguration>
5.4、整合Log日志
在application.yml文件中添加如下代碼:
#log日志配置
logging:
  level:
 ? ? #指定項目目錄輸入日志信息
 ? ? com.zking.項目名.mapper: debug
5.5、整合PageHelper
配置pom.xml,導入依賴:
<dependency>
 ? ?<groupId>com.github.pagehelper</groupId>
 ? ?<artifactId>pagehelper-spring-boot-starter</artifactId>
 ? ?<version>1.3.0</version>
</dependency>
<dependency>
 ? ?<groupId>org.springframework.boot</groupId>
 ? ?<artifactId>spring-boot-starter-aop</artifactId>
</dependency>
請修改application.yml或application.properties文件,添加以下配置:
#pagehelper分頁插件配置
pagehelper:
  helperDialect: mysql
  reasonable: true
  supportMethodsArguments: true
  params: count=countSql
創建PageBean類:
package com.zking.pagination.entity;
?
import java.io.Serializable;
import java.util.Map;
?
import javax.servlet.http.HttpServletRequest;
?
public class PageBean implements Serializable {
?
    private static final long serialVersionUID = 2422581023658455731L;
?
    //頁碼
    private int page=1;
    //每頁顯示記錄數
    private int rows=10;
    //總記錄數
    private int total=0;
    //是否分頁
    private boolean isPagination=true;
    //上一次的請求路徑
    private String url;
    //獲取所有的請求參數
    private Map<String,String[]> map;

    public PageBean() {
        super();
    }

    //設置請求參數
    public void setRequest(HttpServletRequest req) {
        String page=req.getParameter("page");
        String rows=req.getParameter("rows");
        String pagination=req.getParameter("pagination");
        this.setPage(page);
        this.setRows(rows);
        this.setPagination(pagination);
        this.url=req.getContextPath()+req.getServletPath();
        this.map=req.getParameterMap();
    }
    public String getUrl() {
        return url;
    }
?
    public void setUrl(String url) {
        this.url = url;
    }
?
    public Map<String, String[]> getMap() {
        return map;
    }
?
    public void setMap(Map<String, String[]> map) {
        this.map = map;
    }
?
    public int getPage() {
        return page;
    }
?
    public void setPage(int page) {
        this.page = page;
    }

    public void setPage(String page) {
        if(null!=page&&!"".equals(page.trim()))
            this.page = Integer.parseInt(page);
    }
?
    public int getRows() {
        return rows;
    }
?
    public void setRows(int rows) {
        this.rows = rows;
    }

    public void setRows(String rows) {
        if(null!=rows&&!"".equals(rows.trim()))
            this.rows = Integer.parseInt(rows);
    }
?
    public int getTotal() {
        return total;
    }
?
    public void setTotal(int total) {
        this.total = total;
    }

    public void setTotal(String total) {
        this.total = Integer.parseInt(total);
    }
?
    public boolean isPagination() {
        return isPagination;
    }

    public void setPagination(boolean isPagination) {
        this.isPagination = isPagination;
    }

    public void setPagination(String isPagination) {
        if(null!=isPagination&&!"".equals(isPagination.trim()))
            this.isPagination = Boolean.parseBoolean(isPagination);
    }

    /**
     * 獲取分頁起始標記位置
     * @return
     */
    public int getStartIndex() {
        //(當前頁碼-1)*顯示記錄數
        return (this.getPage()-1)*this.rows;
    }

    /**
     * 末頁
     * @return
     */
    public int getMaxPage() {
        int totalpage=this.total/this.rows;
        if(this.total%this.rows!=0)
            totalpage++;
        return totalpage;
    }

    /**
     * 下一頁
     * @return
     */
    public int getNextPage() {
        int nextPage=this.page+1;
        if(this.page>=this.getMaxPage())
            nextPage=this.getMaxPage();
        return nextPage;
    }

    /**
     * 上一頁
     * @return
     */
    public int getPreivousPage() {
        int previousPage=this.page-1;
        if(previousPage<1)
            previousPage=1;
        return previousPage;
    }
?
    @Override
    public String toString() {
        return "PageBean [page=" + page + ", rows=" + rows + ", total=" + total + ", isPagination=" + isPagination
                + "]";
    }
}
?
配置切面代碼如下:
package com.zking.springboot01.util;
?
import com.github.pagehelper.PageHelper;
import com.github.pagehelper.PageInfo;
import org.aspectj.lang.ProceedingJoinPoint;
import org.aspectj.lang.annotation.Around;
import org.aspectj.lang.annotation.Aspect;
import org.springframework.stereotype.Component;
?
import java.util.List;
?
@Component
@Aspect
public class PageAspect {
?
 ? ?/**
 ? ? * 切面=通知+切入點
 ? ? * 通知:公共行為,橫切關注點,攔截到JoinPoint后所執行的行為
 ? ? * 切入點:多個連接點的集合
 ? ? * 理解:只有滿足匹配條件的目標對象才將通知應用到目標上
 ? ? *
 ? ? * * *..*Service.*Pager(..)
 ? ? * *代表返回值不限
 ? ? * *..代表包名不限
 ? ? * *Service代表以Service結尾的接口或者類
 ? ? * .*Pager代表以Pager方法名結尾的方法
 ? ? * (..)代表參數不限
 ? ? * @param joinPoint
 ? ? * @return
 ? ? */
 ? ?@Around("execution(* *..*Service.*Pager(..))")
 ? ?public Object invoke(ProceedingJoinPoint joinPoint) throws Throwable {
 ? ? ? ?//獲取目標方法執行的參數
 ? ? ? ?Object[] params = joinPoint.getArgs();
 ? ? ? ?//定義PageBean對象
 ? ? ? ?PageBean pageBean=null;
 ? ? ? ?//循環遍歷目標方法的參數
 ? ? ? ?for (Object param : params) {
 ? ? ? ? ? ?//判斷目標參數是否與PageBean一致
 ? ? ? ? ? ?if(param instanceof PageBean){
 ? ? ? ? ? ? ? ?pageBean= (PageBean) param;
 ? ? ? ? ? ? ? ?break;
 ? ? ? ? ?  }
 ? ? ?  }
?
 ? ? ? ?//判斷是否分頁
 ? ? ? ?if(null!=pageBean&&pageBean.isPagination())
 ? ? ? ? ? ?PageHelper.startPage(pageBean.getPage(),pageBean.getRows());
?
 ? ? ? ?//執行目標方法
 ? ? ? ?Object proceed = joinPoint.proceed(params);
?
 ? ? ? ?if(null!=pageBean&&pageBean.isPagination()){
 ? ? ? ? ? ? ? ?List lst = (List) proceed;
 ? ? ? ? ? ? ? ?PageInfo pageInfo=new PageInfo(lst);
 ? ? ? ? ? ? ? ?//將pageinfo中的總記錄數存入pageBean中的total屬性中
 ? ? ? ? ? ? ? //jsonResponseBody.setTotal(pageInfo.getTotal());
 ? ? ? ? ? ? ? ?pageBean.setTotal((int) pageInfo.getTotal());
 ? ? ?  }
 ? ? ? ?return proceed;
 ?  }
}
原文鏈接:https://blog.csdn.net/2302_78041486/article/details/140349104
- 上一篇:沒有了
- 下一篇:沒有了
相關推薦
- 2022-11-01 詳解C++中函數模板的定義與使用_C 語言
- 2022-06-18 C#多線程的ResetAbort()方法_C#教程
- 2022-09-01 openGauss數據庫在CentOS上的安裝實踐記錄_數據庫其它
- 2023-02-17 Go語言Gin處理響應方式詳解_Golang
- 2023-01-19 python如何將文件a.txt的內容復制到b.txt中_python
- 2023-07-27 element plus tabel 全選 保持數據
- 2022-04-07 Swift自定義UITableViewCell背景色_Swift
- 2022-12-27 python的ImageTk.PhotoImage大坑及解決_python
- 欄目分類
-
- 最近更新
-
- window11 系統安裝 yarn
- 超詳細win安裝深度學習環境2025年最新版(
- Linux 中運行的top命令 怎么退出?
- MySQL 中decimal 的用法? 存儲小
- get 、set 、toString 方法的使
- @Resource和 @Autowired注解
- Java基礎操作-- 運算符,流程控制 Flo
- 1. Int 和Integer 的區別,Jav
- spring @retryable不生效的一種
- Spring Security之認證信息的處理
- Spring Security之認證過濾器
- Spring Security概述快速入門
- Spring Security之配置體系
- 【SpringBoot】SpringCache
- Spring Security之基于方法配置權
- redisson分布式鎖中waittime的設
- maven:解決release錯誤:Artif
- restTemplate使用總結
- Spring Security之安全異常處理
- MybatisPlus優雅實現加密?
- Spring ioc容器與Bean的生命周期。
- 【探索SpringCloud】服務發現-Nac
- Spring Security之基于HttpR
- Redis 底層數據結構-簡單動態字符串(SD
- arthas操作spring被代理目標對象命令
- Spring中的單例模式應用詳解
- 聊聊消息隊列,發送消息的4種方式
- bootspring第三方資源配置管理
- GIT同步修改后的遠程分支
 提供CDN加速